Padlet

The use:
We use Padlet to create an online board. It is like a virtual board that consists of many sticky notes. It can be used for e.g. introducing students/ teachers, preparing a plan of a project, organising ideas, collecting information etc. It’s very simple, just try :)
In our project we will use Padlet for introducing ourselves and presenting tasks.
If you want to add info to an already prepared board or just watch it, there is no need to register.

Follow these steps:
-
Click the link with an already created padlet.(In our project this link is for students: https://padlet.com/kamilathomas/ckvw19ly548k
and this link is for teachers: https://padlet.com/kamilathomas/5s1wz0bka37q)
-
Click twice on an empty space and a window will appear.
-
Write your name, surname and country, then something about yourself.
-
Upload a crazy photo, so click on the icon below and browse the photo from your computer.

-
Click any empty space and it's done. Your changes are saved. Easy, isn't it?
-
Only you, can edit the created window. Just click on the window on the right top icon "PEN". If you want to delete it just click the icon "BIN". Remember to use the same computer when you want to do the changes, because this app is linked to your IP computer number, that is why you are the only person who can change anything in your window.

When you want to make a padlet/ an online board, it’s better for you to register because the application will remember your work. Go to https://padlet.com/ and follow the main steps below. It may happen that your computer will need to download flash, so do it please.
Registration
Click the link https://padlet.com/ and choose ‘Sign up’. Type your email and password it’s really easy. You can register also using facebook account or google.

At the bottom of this page you can choose the language.
How to make a padlet?
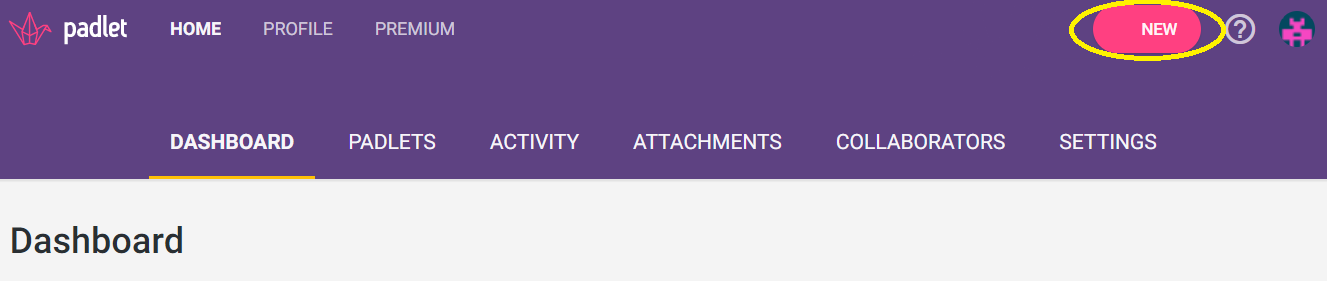
First click the pink ‘NEW’ button on the top right corner.
Now choose the type of the board, click a pink ‘SELECT’ button. Read the descriptions of each board and choose the most suitable for your work.You can also click on the preview to see the sample.

And now your padlet is ready :) Just put the info. See the steps above without registration.
On the right you can choose or change the title/ description/ wallpaper (background)/ icon etc., just click the sprocket wheel button.

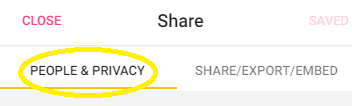
You can also share your padlet. First you decide who will be using it and how, so click ‘people and privacy’

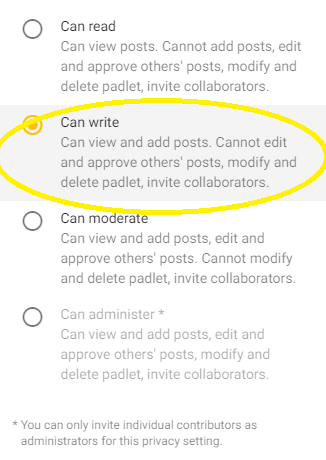
I usually choose Public and decide who gets the access to my padlet. If students have to complete it or add info I choose public and ‘can write’, if students watch it or read it I choose public and ‘can read’. It depends on the task you have prepared.

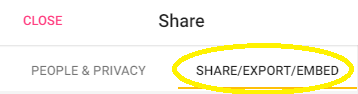
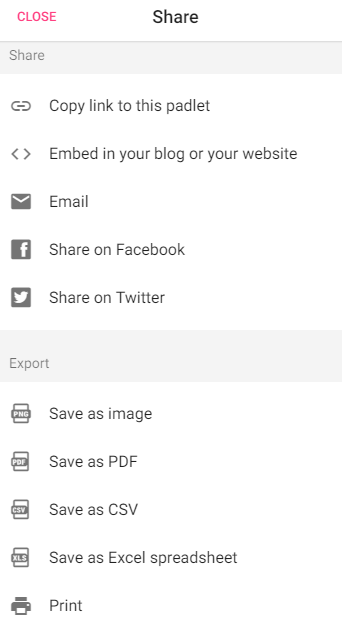
You can share your padlet. Just click SHARE.
Enjoy!