As quite a few of the teachers in this project teach Science, and one of the projects going on in Institut Jaume Callís is a science now, this page is intended to offer Science teachers and those interested in Science a series of resources, activities, tools to serve as EXCHANGE OF GOOD PRACTICES, INSPIRATION, WEBTOOLS, RESOURCES... to use in eTwinning projects.
Please feel free to edit the page, and share what best worked for you to show other partners.
In this page you can add links, and alos links to materials, videos... which you should first upload in the MATERIALS section (see above menu).
It would be a good idea if you use a different colour font to identify yourself: i.e. Hi, I'm Marta, and I'm going to write in PINK.
Hi, this is Floren (Florenci Sales) and I'm going to write in blue.
I want to share a couple of tools that can be easily combined to teach MOTION (Physics)
Google Maps. You can edit a map of your village and point the most beautiful/historical/important places. You can add info and pictures of these places. This is very helpful to show your village to your partners in eTwinning projects (specially when you live in a small and unknown village). Here you've got an exemple of what we did with my students in Alcanar (Tarragona, Spain):
https://www.google.com/maps/d/viewer?mid=zwlnjFRePkCI.kkjbFCnQEt84&hl=es
Wikispaces. This cooperative tool can be used for students to publish motion activities prepared by them (they play the role "teachers"). To solve the activities, the partner students (the "students") have to open the Google Map to mesure distances. You can see some examples here:
http://etprsos.wikispaces.com/
If all the partners in the project share the "teachers'" and "students'" roles, it allows you to practice contents cooperatively and to discover your partner's village at the same time.
Hi! I'm Alessandra.
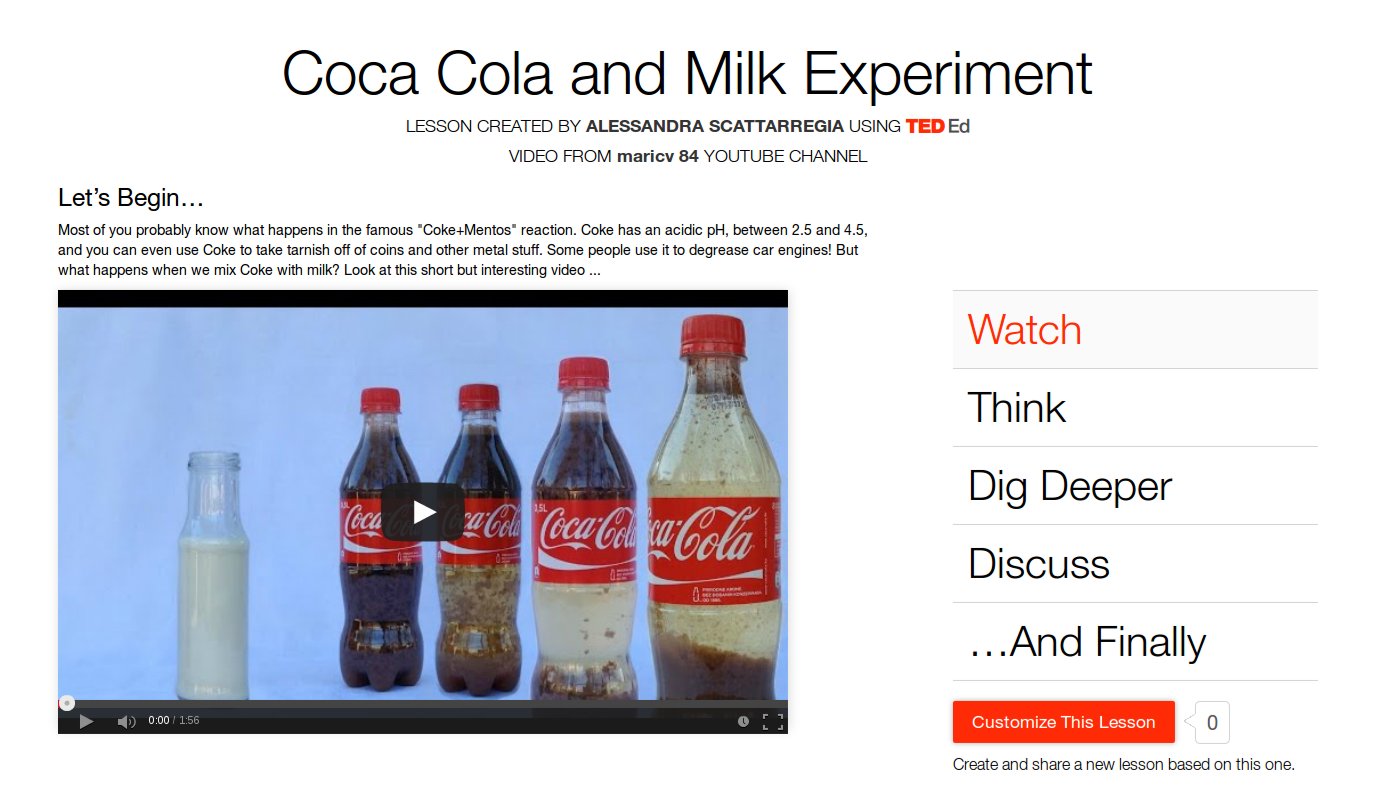
TED-Ed is a very nice and comprehensive tool to present a simple chemical experiment to students, to assign them tasks and to discuss about results. A TED-Ed lesson is shared by students wherever they are.
If you are a TEd-Ed teacher member, you can choose a video from Youtube and you can customize your science lesson from this video. A typical TedEd lesson is composed by five parts: 1) Watch (the video); 2) Think (some simple questions about the topic in the video); 3) Dig Deeper (specific scientific informations about the topic you want to explain to students); 4) Discuss (some general questions to discuss the meaning of your lesson with students); 5) Finally (a short conclusion about the entire work).
This "Coca Cola and milk experiment" is an example I used in my classes (clic onto image to go to the original lesson):
