FIRST TASK
After Samos meeting in November 2019 with other teachers and students from Munich, Lisbon and Samos, we started our Java study work with leJOS installed on memory card and with the Eclipse editor for programming robots with Lego Mindstorms EV3.
None of the students participating in the project had studied Java before.
The first task was: can a robot recognize different colours and sort them?

We tried to carry out the challenge.
Let's explain how we have worked.
The students in the Italian group can be divided into three levels of computer programming knowledge:
- first year students (10 people, half of the group) had never studied computer programming;
- students in the second year (7 people) knew flow charts, algorithms and a little of C language;
- students in the third year (3 people) knew the fundamental aspects of programming in C++, but without knowledge on classes and objects.
Therefore, the first difficulty was to level the general programming skills among students. Subsequently, the concept of class and objects of the class were introduced, finally both concepts were applied to EV3 brick.
Then, the programming of every single component of the EV3 brick in Java began: the display, the buzzer, the LEDs, the buttons, the contact sensor, the distance sensor, the light sensor, a class to facilitate the use of the light sensor. The list of sources of these examples can be downloaded from http://bit.ly/2RBXKzL .
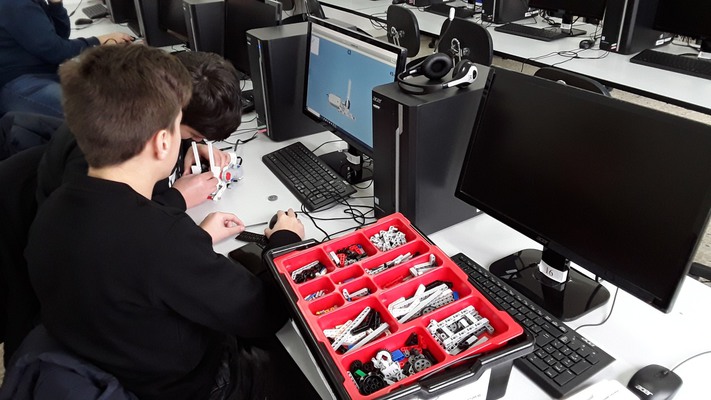
Each student received a guide ( in Italian ) for using the Eclipse editor and for creating projects, packages, classes and main; the guide also explained how to connect the brick to Eclipse with USB cable and how to start and stop a program ( download it from http://bit.ly/3at2Ve2 ).
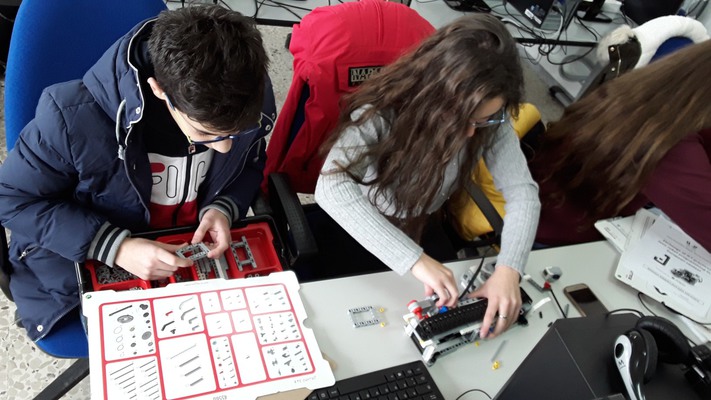
COLOUR SORTER ROBOTS
The projects' code is made by two classes: a colour sensor class (already present on the Internet and found at URL http://bit.ly/36s93Qp ) to manage interactions with colour sensor and a second class, the main class which calls methods of the previous class and uses some parts of the code of the examples described above to move motors and wheels, to play notes, to light up LEDs, to capture buttons and the touch sensor.
First group
When the mission for our work was explained, Giuseppe, a second year student, thought of creating a program that recognized the flags of the four countries in the project. The idea was very good and the students were enthusiastic about it, but they didn't know how to project it. Then the theory of Finite State Automata was introduced briefly and simply, see graph of FSA , to give colours memory to the robot, and finally we programmed the flags recognizing robot.
FSA explanation:
- Numbers 0, 1 ,,, 7 are the states of the automa, the arcs are transactions from a state to another and are labelled with the colour's name which generates the change of state.
- 0 is the initial state in which the automa begins or returns to the end of the recognizing process or returns when recognition fails (blue arcs).
- 1, 4, 6 are the states in which the automa passes to a first recognition level as the response to an input from the colour sensor;
- 2, 3, 5, 7 are the states in which the automa passes to a second level of recognition;
- the third level is reached when the third colour of one of the correct sequences is recognized, then automa recognizes a flag and returns to 0 state.
A note: for simplicity, the robot always recognizes four sequences of three colours in a predetermined order, but not in the reverse order.
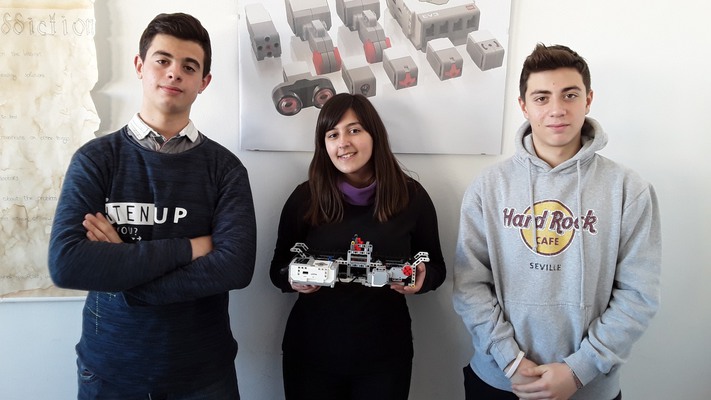
Students: Elena, Marta, Giulia (https://youtu.be/OWxsbR1fJBU)
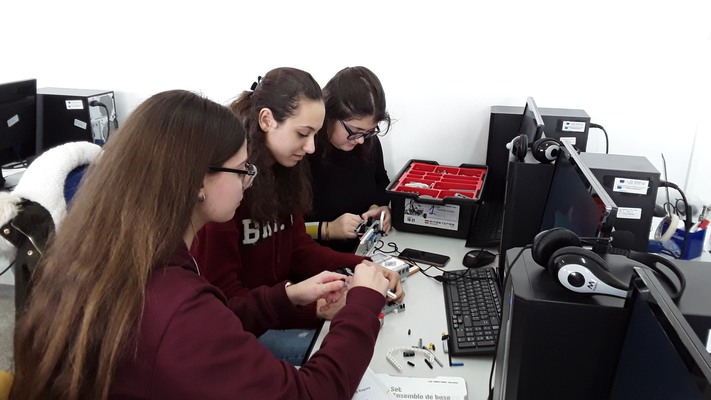
assembling the robot
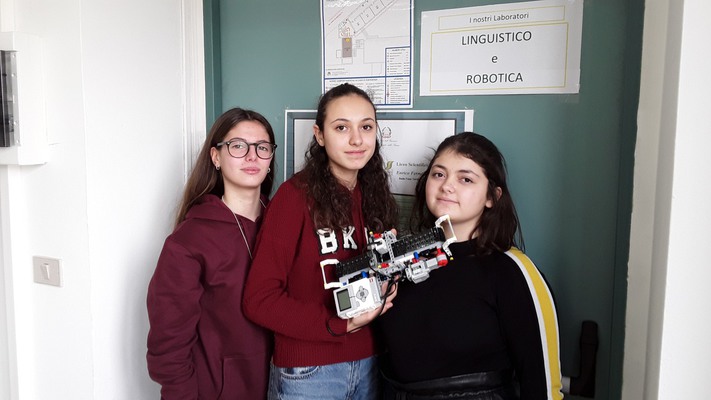
the students and the robot
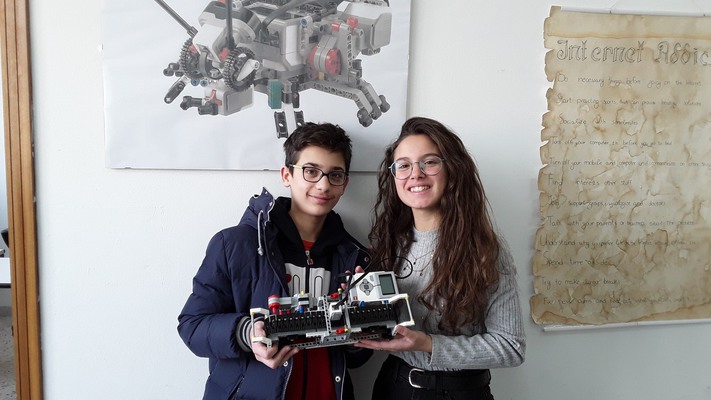
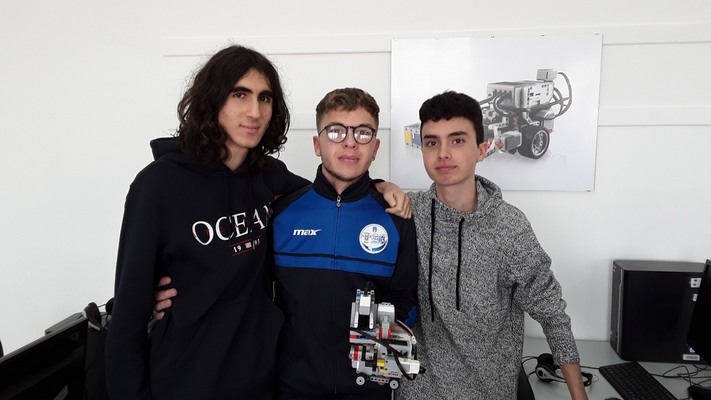
Students: Giuseppe, Lavinia, Nicola (https://youtu.be/h_peXDKiVtU)
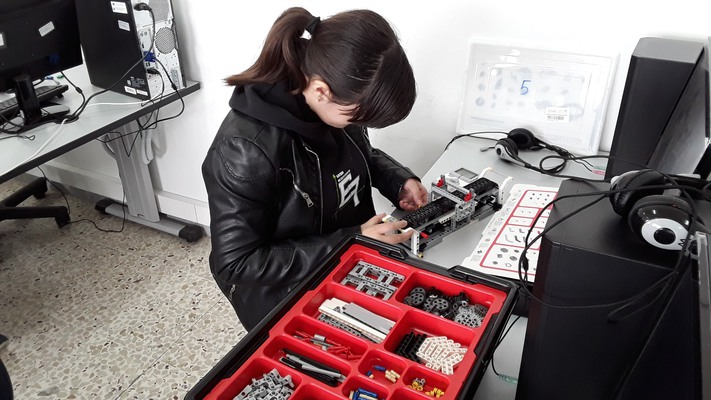
assembling the robot (only Lavinia)
the students and the robot
Students: Davide, Giorgia (https://youtu.be/3wcwz3mvczo)
assembling the robot
the students and the robot
Students: Alessio, Elena (https://youtu.be/xcGIYmwKtoY)
assembling the robot
the students and the robot
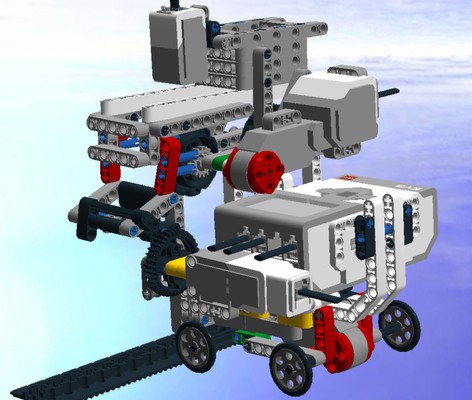
Picture of the group robots:
Download LDD file: MyColorSorter
Download Java code: http://bit.ly/37Sa3Pw
<=>
Second group:
The second group decided to use the same robot model as the first group but with other rules and therefore with another algorithm. The Sicilian flag is yellow and red so it reminds of two typical Sicilian fruits: lemons and oranges. They thought to simulate a simple fruit selector: fruits drop down on the rolling belt, if the colour selector finds a lemon (yellow) it ejects it on one side, otherwise if the colour selector finds an orange (red) it ejects it on the other side.
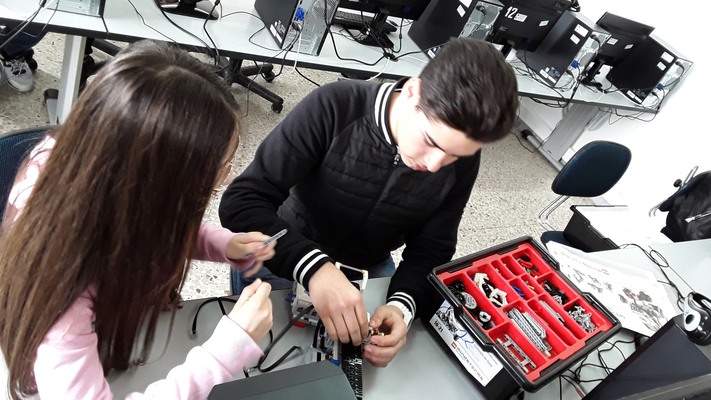
Students: Davide, Giovanni, Francesco (https://youtu.be/hym5Tj4F13s)
assembling the robot
the students and the robot
Download Java code: http://bit.ly/2RRoWfq
<=>
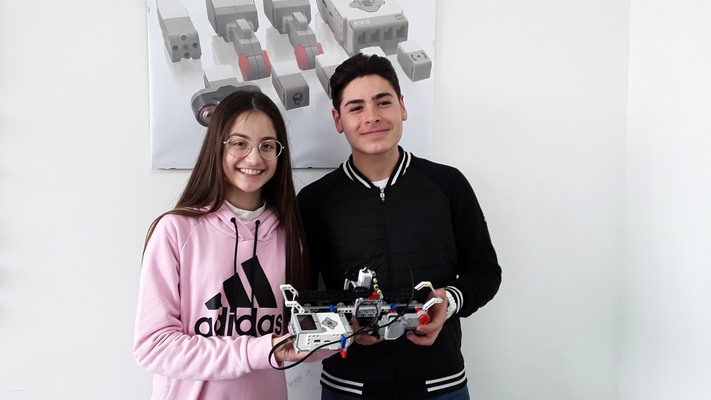
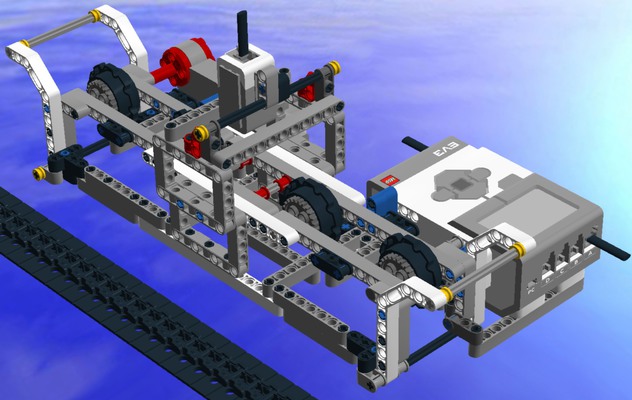
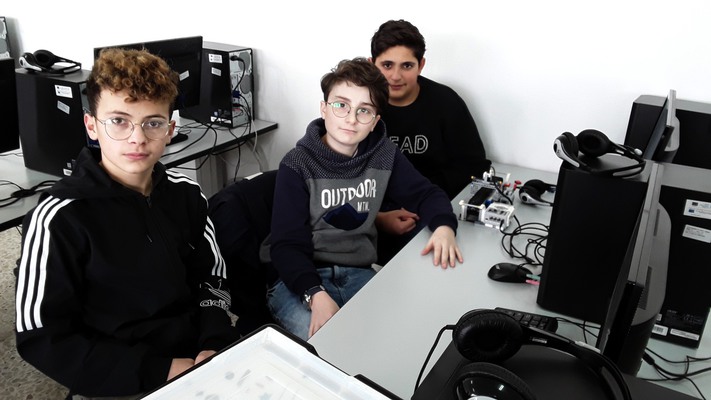
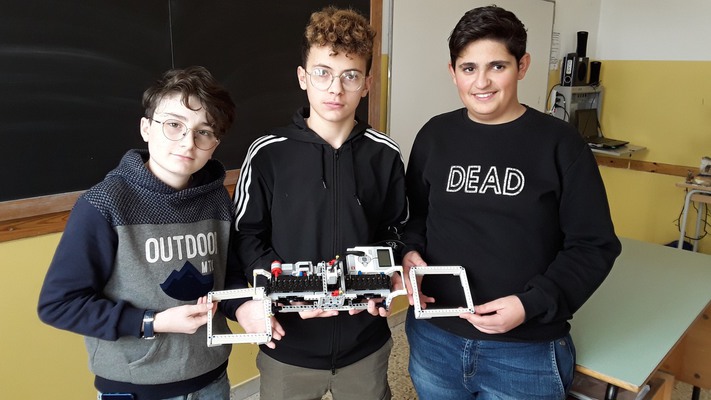
Third group:
The third group decided to create a vehicle with wheels, equipped with an internal belt where coloured "biscuits" pass; a light sensor reads the biscuits colour and the robot moves to release it in the assigned box.
The robot uses three motors:
- a big motor to move the wheels;
- a big motor to move the belt;
- a medium motor to release the biscuits.
It was very hard to refind the exact starting point of the robot after every movement to release a biscuit.
Students: Lorenzo, Paolo, Francesco (https://youtu.be/QyFPk-GQhos)
the students and the robot
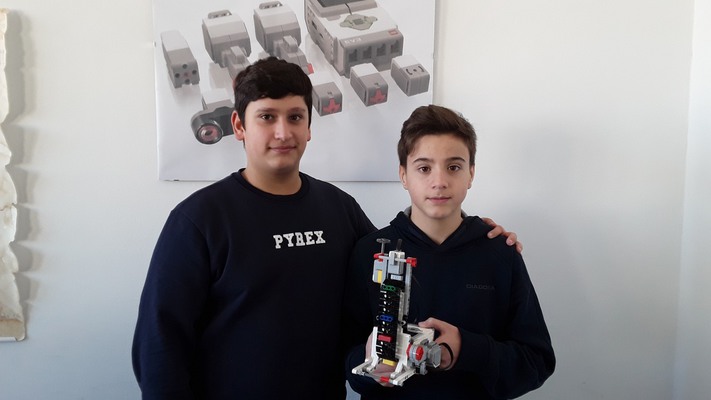
Students: Anita, Andrea (https://youtu.be/hsWfnUOLIjA)
the studens and the robots

Picture of the group robots:
Download LDD file: ColorMachine
Download Java code: http://bit.ly/2u43Npj
<=>
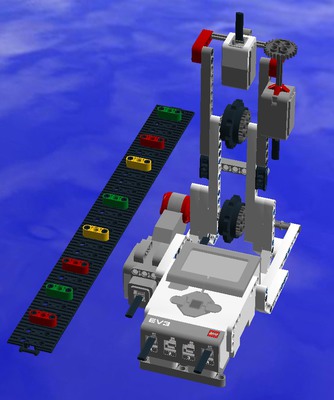
Fourth group:
The fourth group, made up of younger students decided to create a simple carousel with a rotating belt where coloured bricks were inserted. A light sensor above reads the colour of the bricks and recognizes only three colours: red, yellow and green.
In response to a recognized brick, the robot emits a different note and the LEDs emit a similar light. Simple but very nice.
Students: Antonio, Samuele (https://youtu.be/M-3i0pZyoWo)
assembling the robot
the studens and the robots
Picture of the group robots:
Download LDD file: Color carousel
Download Java code: http://bit.ly/2RQ6OCr
- 0 -
To remake our projects and to open .lxf files above you need the program Lego Digital Design, download it for Windows .